The Four Types of GitHub Copilot Agents: Local, Background, Cloud, and Sub-Agents Explained

The Four Types of GitHub Copilot Agents: Local, Background, Cloud, and Sub-Agents Explained


🎯 TL;DR: Four Agent Types, Four Different Workflows

GitHub Copilot in VS Code now supports four distinct agent types, each designed for different workflows and levels of autonomy. Local Agent is your interactive coding partner, running in VS Code with full access to all your tools, MCP servers, and three personas (Agent, Plan, Ask). Coding Agent (Cloud) runs on GitHub’s cloud infrastructure via Actions runners, works fully autonomously on issues, and creates PRs while you’re away. Background Agent (Copilot CLI) runs locally but outside the VS Code process; it survives restarts, supports parallel sessions, and can hand off work to cloud agents with /delegate. Sub-Agents are the secret weapon for context management, running as isolated subtasks within a parent agent session, keeping the main agent’s context window clean while handling research, analysis, or parallel tasks.

Key insight: If you’re using a 1x premium model like Claude Sonnet 4, sub-agent calls are effectively free, making them the most cost-efficient way to scale complex multi-step workflows without burning through your premium request budget.


GitHub Copilot has evolved far beyond simple code completions. With agent mode in VS Code, developers gained an autonomous coding assistant that could plan, execute, and iterate on complex tasks. But as workflows grew more sophisticated, a single agent type wasn’t enough to cover every scenario, from quick interactive debugging to full autonomous issue resolution that runs while you sleep.

Today, GitHub Copilot in VS Code supports four distinct agent types, each optimized for different workflows, contexts, and levels of autonomy. Understanding when to use each one, and how they interact, is the difference between fighting your tools and having them work seamlessly for you.

Read more
Running FLUX.1 OmniControl on a Consumer GPU: A Docker Implementation tested on RTX 3060

Running FLUX.1 OmniControl on a Consumer GPU: A Docker Implementation tested on RTX 3060


🎯 TL;DR: Subject-Driven Image Generation on 12GB VRAM

Large AI models like FLUX.1-schnell typically require datacenter GPUs with 48GB+ VRAM. Problem: Most developers and hobbyists only have access to consumer RTX cards which vary from 6 - 12GB VRAM in most cases (with the exception of the expensive 4090/5090 cards which can go up to 32gb).

Solution: Using mmgp (Memory Management for GPU Poor) with Docker containerization enables FLUX.1 OmniControl to run on RTX 3060 12GB through 8-bit quantization, dynamic VRAM/RAM offloading, and selective layer loading. The implementation provides a Gradio web interface generating 512x512 images in ~10 seconds after initial model loading, with models persisting in system RAM to avoid reload overhead.

Technical Approach: Profile 3 configuration quantizes the T5 text encoder (8.8GB → ~4.4GB), pins the FLUX transformer (22.7GB) to reserved system RAM, and dynamically loads only active layers to VRAM during inference. Tested and validated on RTX 3060 12GB with 64GB system RAM running Windows 11 + WSL2 + Docker Desktop.

Complete Implementation: All code, Dockerfile, and setup instructions are available at github.com/Ricky-G/docker-ai-models/omnicontrol


Recently, I wanted to experiment with OmniControl, a subject-driven image generation model that extends FLUX.1-schnell with LoRA adapters for precise control over object placement. The challenge? The model requirements listed 48GB+ VRAM, and I only had an RTX 3060 with 12GB sitting in my workstation.

This is a common frustration in the AI development community. Research papers showcase impressive results on expensive datacenter hardware, but practical implementation on consumer GPUs requires significant engineering effort. Could I actually run this model locally without upgrading to an RTX 4090/5090 or pay for a VM in Azure with A100?

The answer turned out to be yes - with some clever memory management and containerization. This blog post walks through the complete process of dockerizing OmniControl to run efficiently on a 12GB consumer GPU.

Read more
Microsoft Foundry Cross-Region with Private Endpoints (Part 1)

Microsoft Foundry Cross-Region with Private Endpoints (Part 1)


🎯 TL;DR: Deploy Microsoft Foundry Cross-Region with Private Endpoints

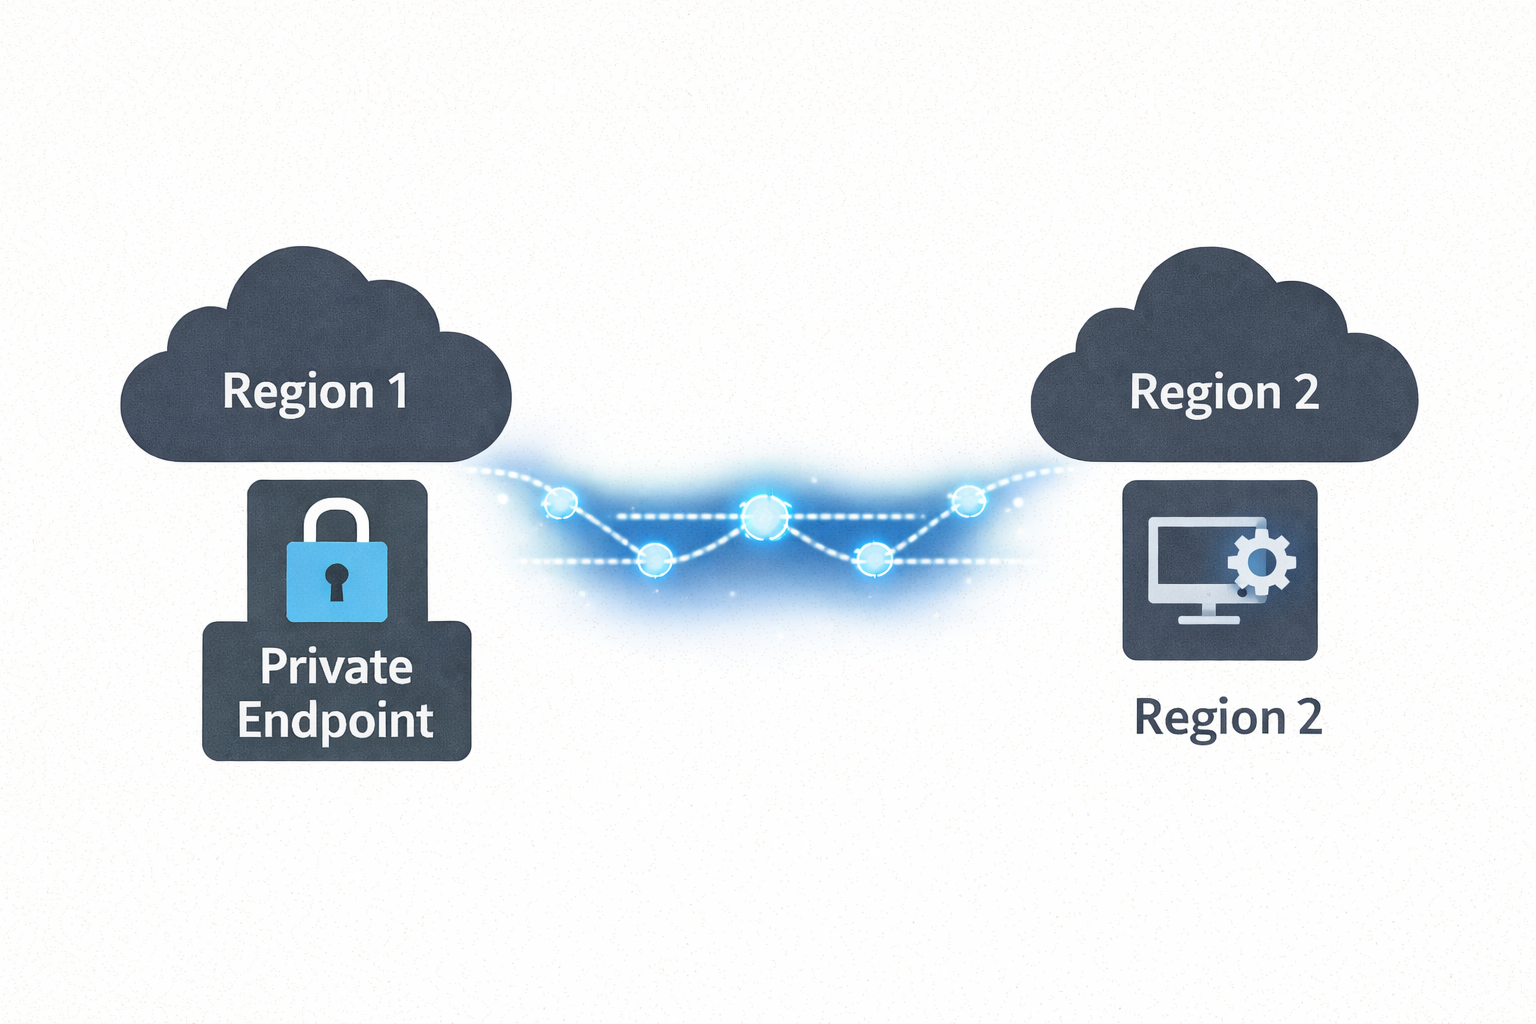
Microsoft Foundry isn’t available in every Azure region, but data residency requirements often mandate that all data at rest stays within specific regions. This post demonstrates how to keep your data in your compliant region (e.g., New Zealand North) while leveraging Microsoft Foundry in another region (e.g., Australia East) purely for AI inferencing. Using cross-region Private Endpoints over Azure’s backbone network, applications securely access Foundry’s AI capabilities without data traversing the public internet—maintaining both regional compliance and zero-trust security posture.

The Solution: All data at rest, applications, and Private Endpoints remain in NZN. Microsoft Foundry deployed in AUE provides AI inferencing only. Private connectivity ensures secure, compliant architecture across regions.


When deploying Microsoft Foundry (formerly Azure AI Foundry) in enterprise environments, you’ll face a critical constraint: Microsoft Foundry isn’t available in every Azure region, yet data residency requirements mandate that all data at rest remains within specific regions.

Imagine this scenario: Your organization must keep all data in New Zealand North due to regulatory compliance, but Microsoft Foundry is only available in Australia East. You can’t move data to AUE, but you need Foundry’s AI capabilities. How do you maintain compliance while accessing AI inferencing services?

The solution is architectural: Keep all data at rest in your compliant region (NZN) and use Microsoft Foundry in the available region (AUE) purely for AI inferencing. By deploying cross-region Private Endpoints, applications in NZN securely access Foundry’s AI services over Azure’s backbone network—no public internet, no data residency violations, no compromises.

This guide walks through the complete architecture, DNS configuration, security considerations, and implementation steps for deploying this cross-region private endpoint pattern.

⚠️ Important: Foundry Agents Service Limitation

If you plan to use the Foundry Agents service specifically, there is a known limitation at the time of writing: all Foundry workspace resources (Cosmos DB, Storage Account, AI Search, Foundry Account, Project, Managed Identity, Azure OpenAI, or other Foundry resources used for model deployments) must be deployed in the same region as the VNet.

This means the cross-region pattern described in this post will not work for Foundry Agents deployments—you would need to deploy everything in the same region (e.g., all resources in Australia East where Foundry is available).

However, if you are NOT using the Foundry Agents service (i.e., you’re only using Foundry for AI inferencing via API calls—OpenAI models, Speech Services, Vision, etc.), then the cross-region private endpoint pattern works perfectly, and all your data can reside in your chosen compliant region as described in this post.

For more details, see Microsoft Learn - Virtual Networks with Foundry Agents - Known Limitations

flowchart TB
    subgraph azure["☁️ Azure Backbone"]
        direction TB
        subgraph NZN["🌏 NZN - Data Residency Region"]
            direction TB
            subgraph vnet["VNet:  10.1.0.0/16"]
                subgraph appsnet["Subnet: snet-apps • 10.1.1.0/24"]
                    client[👤 Client App / VM
10.1.1.10] data[(💾 Data at Rest
Storage, SQL, etc.)] end subgraph pesnet["Subnet: snet • 10.1.2.0/24"] pe[🔒 Private Endpoint
10.1.2.4] end end dns[🔐 Private DNS Zones
Resolves to Private IP] end subgraph AUE["🌏 AUE - AI Inferencing"] foundry[[🤖 Microsoft Foundry
myFoundry. cognitiveservices.azure.com]] end pe ==>|"🔐 Private Link
"| foundry end internet[/"🌐 Public Internet
❌ Blocked"/] client --> dns dns -.->|10.1.2.4| pe client -->|HTTPS| pe foundry -.-x internet style azure fill:#f5f5f5,stroke:#666,stroke-width:2px,stroke-dasharray: 5 5 style NZN fill:#e3f2fd,stroke:#1976d2,stroke-width:3px style AUE fill:#e8f5e9,stroke:#388e3c,stroke-width:3px style internet fill:#ffebee,stroke:#c62828,stroke-width:2px style vnet fill:#e1f5fe,stroke:#0288d1,stroke-width: 2px style dns fill:#f3e5f5,stroke:#7b1fa2,stroke-width:2px style pe fill:#fff3e0,stroke:#ef6c00,stroke-width:3px style data fill:#e8f5e9,stroke:#388e3c,stroke-width:2px
Read more