APIM Backend Fan-out: Shared Backend + rewrite-uri vs One Backend Per API (A Real Benchmark)

APIM Backend Fan-out: Shared Backend + rewrite-uri vs One Backend Per API (A Real Benchmark)


🎯 TL;DR: Shared Backend + rewrite-uri is performance-equivalent to one Backend per API.

The question: if you point 100+ APIs at a single APIM Backend entity and use rewrite-uri to reconstruct the path, do you pay a measurable latency / throughput / reliability penalty versus modelling one Backend entity per API?

Two identical APIM Premium instances, same Function App backend, same k6 load. Across 1.67M requests and ~32 minutes of stepped load (50 → 100 → 200 VUs): 882 vs 874 req/s, 146 vs 153 ms p95, 0 errors on both sides. All three pass/fail thresholds satisfied. Pick the pattern on operational simplicity, not performance.

Bonus finding: backend cold-scale will lie to you. The first run made the shared-backend pattern look 2× slower, that was Flex Consumption scaling up during APIM-A’s window, not a pattern difference. Always warm your backend before measuring.

Full benchmark, IaC, k6 scripts, KQL, and interactive dashboard: github.com/Ricky-G/azure-scenario-hub/tree/main/src/apim-backend-fanout-benchmark

Recently I ran into a scenario worth benchmarking properly: an APIM Premium estate with 100+ APIs that all ultimately call the same upstream service. The architectural choice is whether to model those APIs against a single APIM Backend entity and use rewrite-uri to reconstruct the right path on the way out, or to create one Backend entity per API. One backend is one thing to manage, one health probe, one circuit breaker, one place to flip URLs during a migration. One hundred is, well, one hundred.

Intuition splits cleanly down the middle on whether the shared pattern carries a hidden cost (connection pools are per-backend, surely?) or none at all (it’s just a string concat). I couldn’t find a clean controlled benchmark of this specific question, so I built one, fully reproducible in the Azure Scenario Hub. What follows is the methodology, the numbers, and the wrong answer the first run produced.

The Two Patterns

flowchart LR
    subgraph A["APIM-A · Premium 1 unit · SHARED backend + rewrite-uri"]
      A_API1[api-shared-01 /svc01/v1]
      A_API2[api-shared-02 /svc02/v1]
      A_APIn[...10 APIs]
      A_FRAG{policy fragment
set-backend-service
+ rewrite-uri} A_BE[(1 Backend entity)] A_API1 --> A_FRAG A_API2 --> A_FRAG A_APIn --> A_FRAG A_FRAG --> A_BE end subgraph B["APIM-B · Premium 1 unit · PER-API backend"] B_API1[api-perapi-01 /svc01/v1] --> B_BE1[(Backend 01)] B_API2[api-perapi-02 /svc02/v1] --> B_BE2[(Backend 02)] B_APIn[...10 APIs] --> B_BEN[(Backend 10)] end A_BE --> Func[(Same Mock Backend
Function App · 5ms baseline)] B_BE1 --> Func B_BE2 --> Func B_BEN --> Func
Read more
AKS Static Egress Gateway: Per-Namespace Static Egress IPs

AKS Static Egress Gateway: Per-Namespace Static Egress IPs


🎯 TL;DR: Unique Static Egress IP per Kubernetes Namespace in AKS

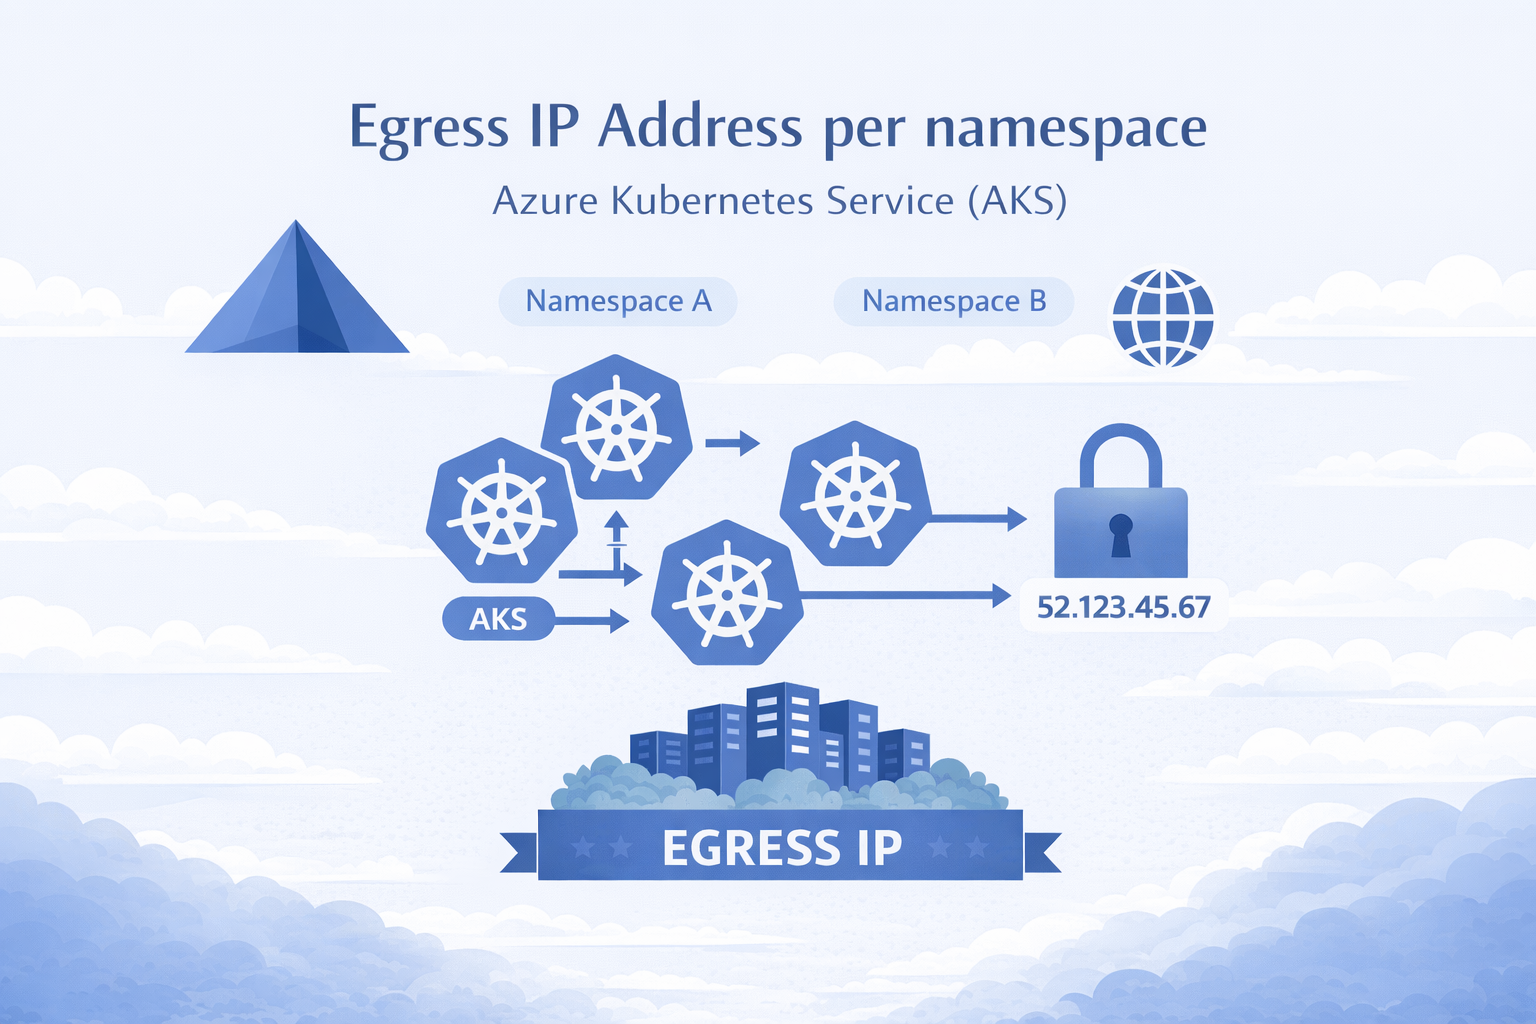
AKS now has a native equivalent to OpenShift’s EgressIP: Static Egress Gateway. One dedicated gateway node pool + a StaticGatewayConfiguration CRD per namespace = stable egress IPs (public or private). No more separate node pools, subnets, and NAT Gateways per namespace.

Pods opt in via annotation, IPs are stable across restarts/upgrades, supports public and private egress, and layers cleanly with Azure Firewall. Requires aks-preview CLI extension and StaticEgressGatewayPreview feature flag. Private IP mode requires Kubernetes 1.34+.

Full working demo: github.com/Ricky-G/azure-scenario-hub/tree/main/src/aks-unique-egress-ip-per-namespace


If you’ve used OpenShift’s EgressIP CRD to assign static egress IPs per namespace for firewall allowlisting, you know how critical this is for security compliance. The first question in any OpenShift-to-AKS migration is always: “How do we get per-namespace static egress IPs?”

Until recently, you needed a separate node pool, subnet, and NAT Gateway per namespace. Ten namespaces = ten of each. It didn’t scale.

AKS Static Egress Gateway fixes this: one gateway node pool, one subnet, one CRD per namespace.

graph LR
    A["Namespace A"] --> GW["Gateway Pool"]
    B["Namespace B"] --> GW
    C["Namespace C"] --> GW
    GW -->|"Unique IP per NS"| EXT["External Services"]
Read more
Microsoft Foundry Cross-Region with Private Endpoints (Part 1)

Microsoft Foundry Cross-Region with Private Endpoints (Part 1)


🎯 TL;DR: Deploy Microsoft Foundry Cross-Region with Private Endpoints

Microsoft Foundry isn’t available in every Azure region, but data residency requirements often mandate that all data at rest stays within specific regions. This post demonstrates how to keep your data in your compliant region (e.g., New Zealand North) while leveraging Microsoft Foundry in another region (e.g., Australia East) purely for AI inferencing. Using cross-region Private Endpoints over Azure’s backbone network, applications securely access Foundry’s AI capabilities without data traversing the public internet maintaining both regional compliance and zero-trust security posture.

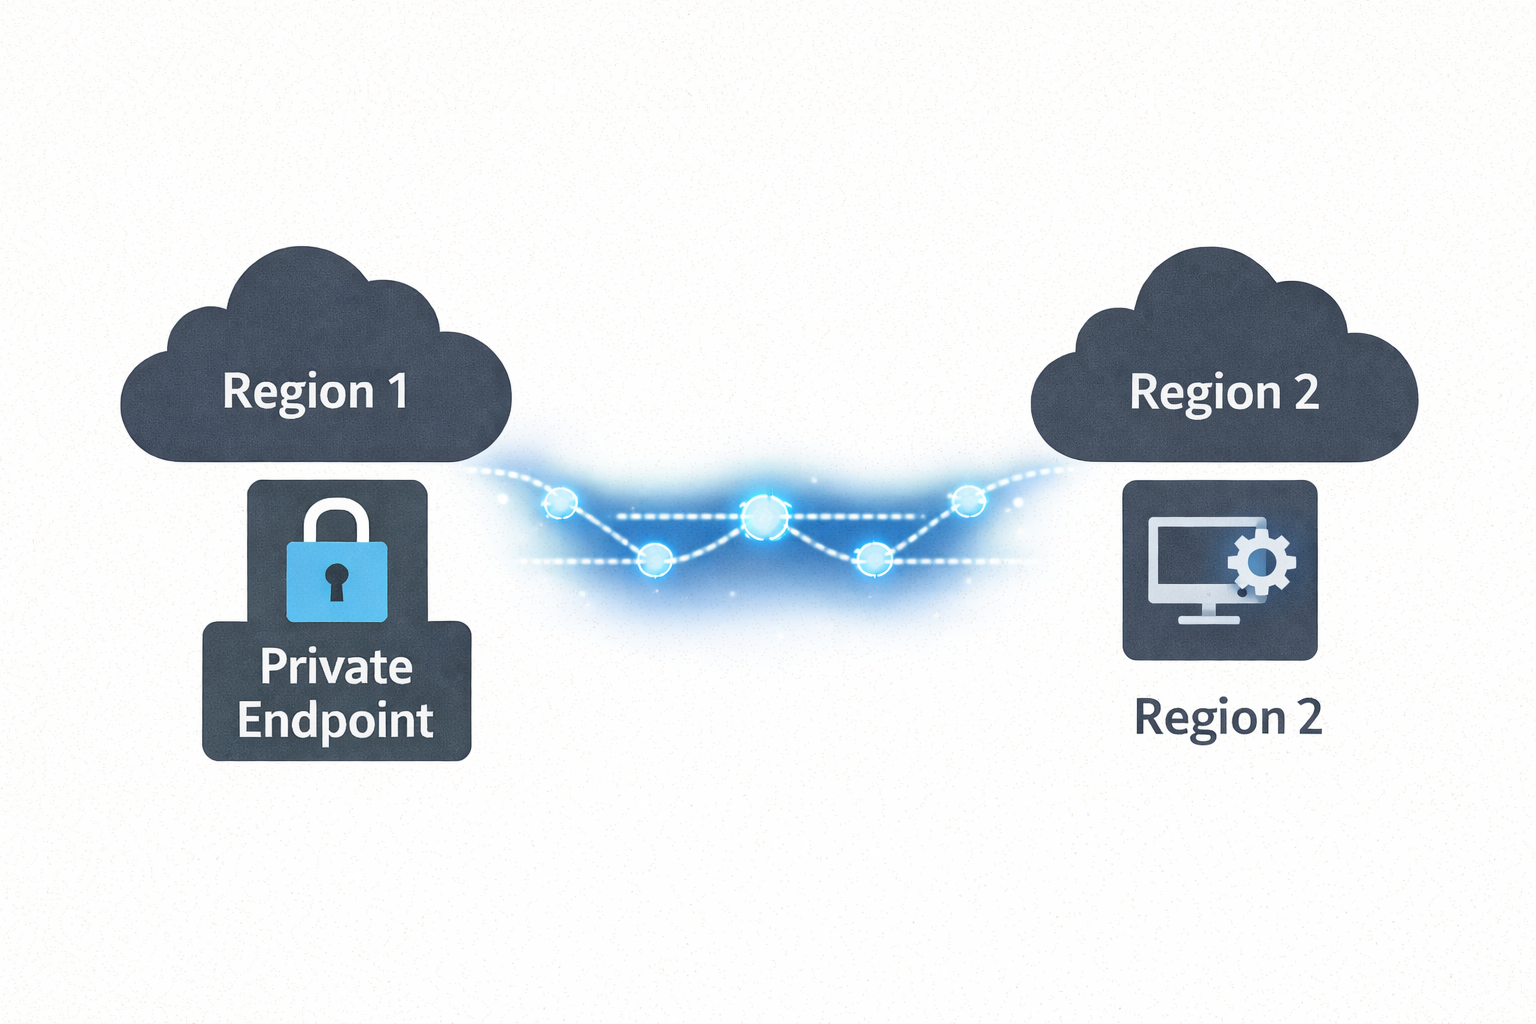
The Solution: All data at rest, applications, and Private Endpoints remain in NZN. Microsoft Foundry deployed in AUE provides AI inferencing only. Private connectivity ensures secure, compliant architecture across regions.


When deploying Microsoft Foundry (formerly Azure AI Foundry) in enterprise environments, you’ll face a critical constraint: Microsoft Foundry isn’t available in every Azure region, yet data residency requirements mandate that all data at rest remains within specific regions.

Imagine this scenario: Your organization must keep all data in New Zealand North due to regulatory compliance, but Microsoft Foundry is only available in Australia East. You can’t move data to AUE, but you need Foundry’s AI capabilities. How do you maintain compliance while accessing AI inferencing services?

The solution is architectural: Keep all data at rest in your compliant region (NZN) and use Microsoft Foundry in the available region (AUE) purely for AI inferencing. By deploying cross-region Private Endpoints, applications in NZN securely access Foundry’s AI services over Azure’s backbone network, no public internet, no data residency violations, no compromises.

This guide walks through the complete architecture, DNS configuration, security considerations, and implementation steps for deploying this cross-region private endpoint pattern.

⚠️ Important: Foundry Agents Service Limitation

If you plan to use the Foundry Agents service specifically, there is a known limitation at the time of writing: all Foundry workspace resources (Cosmos DB, Storage Account, AI Search, Foundry Account, Project, Managed Identity, Azure OpenAI, or other Foundry resources used for model deployments) must be deployed in the same region as the VNet.

This means the cross-region pattern described in this post will not work for Foundry Agents deployments you would need to deploy everything in the same region (e.g., all resources in Australia East where Foundry is available).

However, if you are NOT using the Foundry Agents service (i.e., you’re only using Foundry for AI inferencing via API calls, OpenAI models, Speech Services, Vision, etc.), then the cross-region private endpoint pattern works perfectly, and all your data can reside in your chosen compliant region as described in this post.

For more details, see Microsoft Learn - Virtual Networks with Foundry Agents - Known Limitations

flowchart TB
    subgraph azure["☁️ Azure Backbone"]
        direction TB
        subgraph NZN["🌏 NZN - Data Residency Region"]
            direction TB
            subgraph vnet["VNet:  10.1.0.0/16"]
                subgraph appsnet["Subnet: snet-apps • 10.1.1.0/24"]
                    client[👤 Client App / VM
10.1.1.10] data[(💾 Data at Rest
Storage, SQL, etc.)] end subgraph pesnet["Subnet: snet • 10.1.2.0/24"] pe[🔒 Private Endpoint
10.1.2.4] end end dns[🔐 Private DNS Zones
Resolves to Private IP] end subgraph AUE["🌏 AUE - AI Inferencing"] foundry[[🤖 Microsoft Foundry
myFoundry. cognitiveservices.azure.com]] end pe ==>|"🔐 Private Link
"| foundry end internet[/"🌐 Public Internet
❌ Blocked"/] client --> dns dns -.->|10.1.2.4| pe client -->|HTTPS| pe foundry -.-x internet style azure fill:#f5f5f5,stroke:#666,stroke-width:2px,stroke-dasharray: 5 5 style NZN fill:#e3f2fd,stroke:#1976d2,stroke-width:3px style AUE fill:#e8f5e9,stroke:#388e3c,stroke-width:3px style internet fill:#ffebee,stroke:#c62828,stroke-width:2px style vnet fill:#e1f5fe,stroke:#0288d1,stroke-width: 2px style dns fill:#f3e5f5,stroke:#7b1fa2,stroke-width:2px style pe fill:#fff3e0,stroke:#ef6c00,stroke-width:3px style data fill:#e8f5e9,stroke:#388e3c,stroke-width:2px
Read more
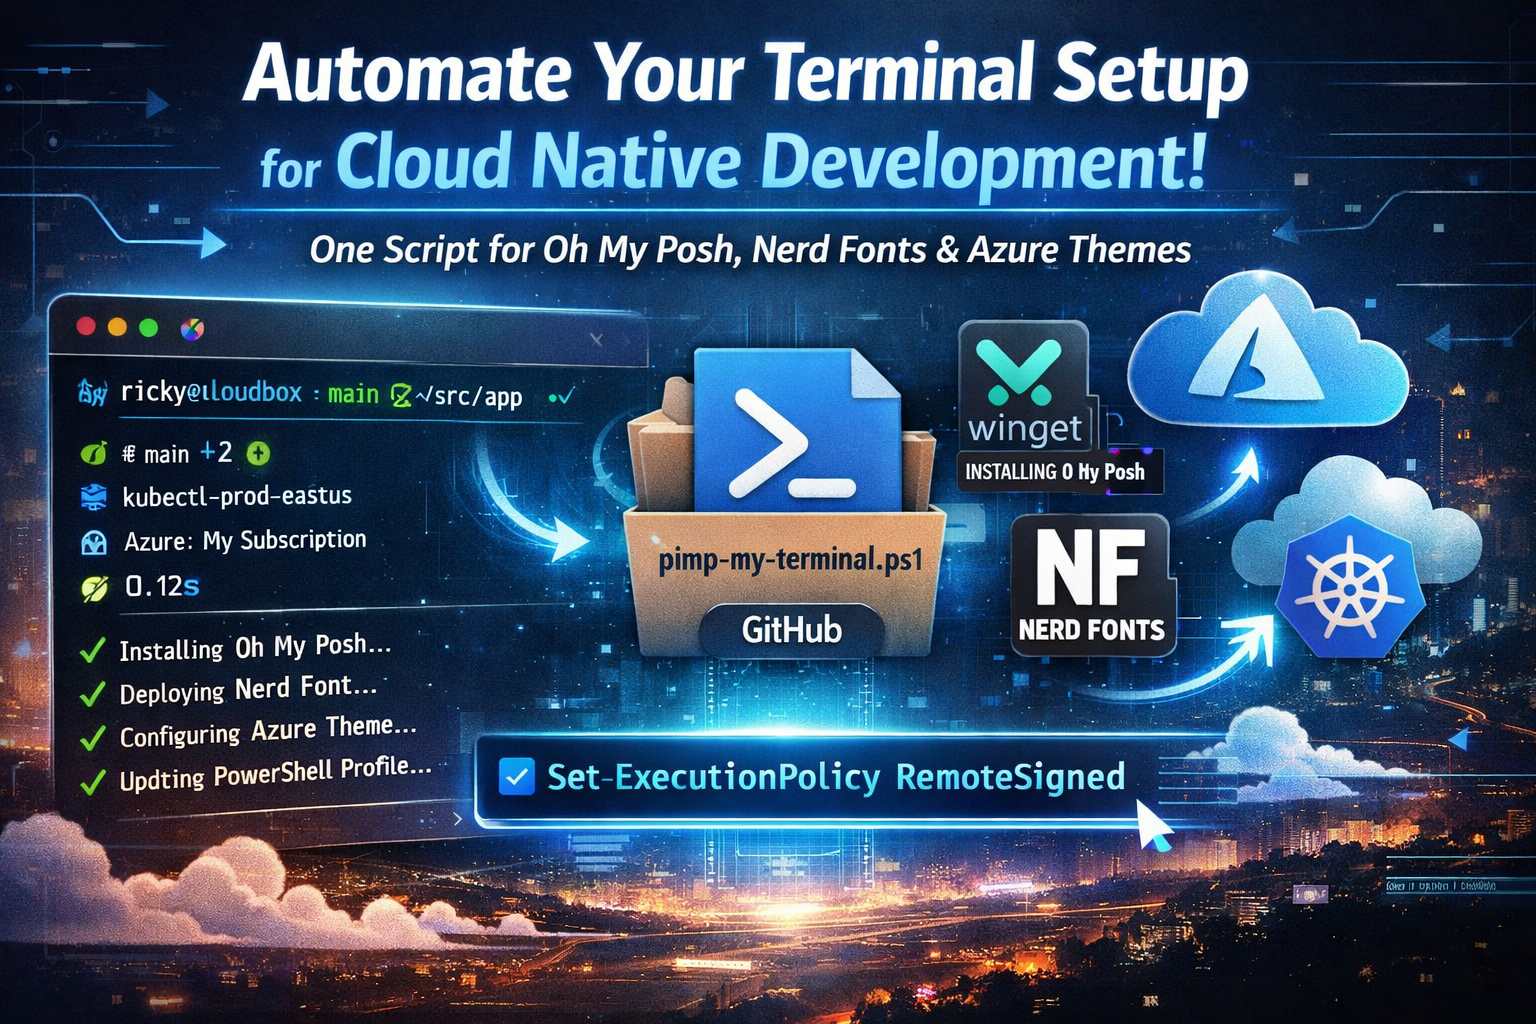
Pimp My Terminal - Terminal Customization with Oh My Posh - A Cloud Native Terminal Setup

Pimp My Terminal - Terminal Customization with Oh My Posh - A Cloud Native Terminal Setup


🎯 TL;DR: Automated Oh My Posh Terminal Setup for Cloud Native Development

Every new machine or fresh Windows install means reconfiguring your terminal environment from scratch. Problem: Manually setting up Oh My Posh, installing Nerd Fonts, and configuring custom themes is tedious and error-prone across multiple machines.

Solution: (A single PowerShell script available on GitHub https://github.com/Ricky-G/script-library/blob/main/pimp-my-terminal.ps1) that automates the entire process - installing Oh My Posh via winget, deploying a Nerd Font, Terminal-Icons module, creating a custom “Cloud Native Azure” theme optimized for Kubernetes and Azure workflows, and configuring your PowerShell profile with PSReadLine enhancements.

Prerequisites: Enable script execution with Set-ExecutionPolicy -ExecutionPolicy RemoteSigned -Scope CurrentUser before running. This approach transforms the multi-hour setup process into a one-command operation, providing immediate visual context for Git branches, Kubernetes clusters, Azure subscriptions, and command execution times - critical information for modern cloud native development.


Recently, I found myself setting up yet another development machine, and as I stared at the blank PowerShell terminal, I realized I’d reached my limit with manual terminal configuration. Every new machine or clean install meant the same tedious process: download Oh My Posh, find a Nerd Font installer, copy configuration files, edit PowerShell profiles, and spend 30 minutes getting everything just right.

The frustration wasn’t just about aesthetics - a properly configured terminal is a productivity multiplier. When you’re constantly switching between multiple Git repositories, Kubernetes clusters, and Azure subscriptions throughout the day, having that contextual information immediately visible saves countless keystrokes and eliminates mental overhead.

This blog post shares my automated solution: a single PowerShell script that takes a bare Windows terminal and transforms it into a fully-configured, cloud native-ready development environment in under 5 minutes. Whether you’re setting up a new machine, rebuilding after a Windows update disaster, or just want to standardize terminal configuration across your team, this automation eliminates the manual work.

Before and After Terminal

Quick Start - Get Up and Running in 5 Minutes

Want to skip the details and just get started? Here’s everything you need to run the automation script:

Step 1: Enable Script Execution

Open PowerShell as Administrator and run:

1
Set-ExecutionPolicy -ExecutionPolicy RemoteSigned -Scope CurrentUser

When prompted, type Y and press Enter.

Step 2: Download and Run the Script

1
2
3
# Download and run the automation script
Invoke-WebRequest -Uri "https://raw.githubusercontent.com/Ricky-G/script-library/main/pimp-my-terminal.ps1" -OutFile "$env:TEMP\pimp-my-terminal.ps1"
& "$env:TEMP\pimp-my-terminal.ps1"

The script will automatically install:

  • ✅ Oh My Posh via winget
  • ✅ MesloLGM Nerd Font
  • ✅ Terminal-Icons PowerShell module
  • ✅ Cloud Native Azure theme
  • ✅ PSReadLine enhancements
  • ✅ Custom keyboard shortcuts

Step 3: Configure Your Terminal Font

After the script completes, configure your terminal font:

Windows Terminal:

  1. Open Settings (Ctrl + ,)
  2. Go to Profiles → Defaults → Appearance
  3. Set Font face to: MesloLGM Nerd Font
  4. Save and restart terminal

VS Code:

  1. Open Settings (Ctrl + ,)
  2. Search for “terminal font”
  3. Set Terminal › Integrated: Font Family to: MesloLGM Nerd Font

Done! Open a new terminal and enjoy your beautiful, cloud native-ready prompt.


Understanding Oh My Posh: The Modern Prompt Engine

Before diving into the automation, it’s worth understanding what Oh My Posh brings to the table and why it’s become the de facto standard for PowerShell prompt customization.

Read more
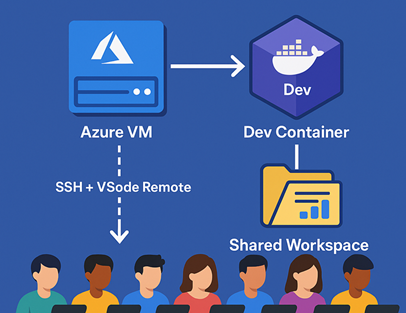
How We United 8 Developers Across Restricted Environments Using Azure VMs and Dev Containers

How We United 8 Developers Across Restricted Environments Using Azure VMs and Dev Containers


🎯 TL;DR: Distributed Development with Azure VMs and Dev Containers

This post details solving a distributed development challenge where 8 developers from different organizations needed to collaborate on an AutoGen AI project - 4 from restricted corporate environments unable to install development tools, and 4 external developers without access to client systems. The solution uses a shared Azure VM (Standard D8s v3) with individual user accounts, certificate-based SSH authentication, and VS Code Remote Development connected to a shared Dev Container environment. The architecture eliminates “works on my machine” issues by providing consistent development environments, shared resources (datasets, models, configs), and enables real-time collaboration.

Implementation highlights: Automated user provisioning scripts, VS Code Remote-SSH configuration, comprehensive devcontainer.json with pre-installed Python 3.12/AutoGen/Azure CLI, shared directory structures, and security hardening with fail2ban and UFW. Development environment setup scripts and configurations documented here


Introduction: When Traditional Solutions Hit a Wall

Last month, I found myself facing a challenge that I’m sure many of you have encountered: How do you enable seamless collaboration for a development team when half of them work in a locked-down environment where they can’t install any development tools, and the other half can’t access the client’s systems?

Our team of eight developers was tasked with building a proof-of-concept (PoC) for an AI-powered agentic system using Microsoft’s AutoGen framework. Here’s the kicker: this was a 3-week PoC sprint bringing together two teams from different organizations who had never worked together before. We needed a collaborative environment that could be spun up quickly, require minimal setup effort, and allow everyone to hit the ground running from day one.

The project requirements were complex enough, but the real challenge? Four developers worked from a highly restricted corporate environment where installing Python, VS Code, or any development tools was strictly prohibited. The remaining four worked from our offices but couldn’t access the client’s internal systems directly.

We tried the usual approaches:

  • RDP connections: Blocked by security policies
  • VPN access: Denied due to compliance requirements
  • Local development with file sharing: Immediate sync issues and “works on my machine” problems
  • Cloud IDEs: Didn’t meet the client’s security requirements

Just when we thought we’d have to resort to the dreaded “develop locally and pray it works in production” approach, we discovered a solution that not only solved our immediate problem but revolutionized how we approach distributed development.

The Architecture That Worked For Us

Here’s a visual representation of what we built, everyone had to work on their personal (non-corporate) laptops for this to work.

flowchart TD
    A["� 8 Developers on Personal Laptops
4 Restricted + 4 External Teams"] B["� SSH + VS Code Remote Connection
Certificate-based Authentication"] C["☁️ Azure VM (Standard D8s v3)
8 vCPUs • 32GB RAM • Ubuntu 22.04"] D["👤 Individual User Accounts
user1, user2, user3... user8"] E["🐳 Shared Dev Container
Python 3.12 + AutoGen + Azure CLI
All Dependencies Pre-installed"] F["📂 Shared Development Resources
• Project Repository
• Datasets & Models
• Configuration Files"] G["✅ Results Achieved
94% Faster Onboarding
$400/month vs $16k laptops
Enhanced Security"] A --> B B --> C C --> D D --> E E --> F F --> G style A fill:#e3f2fd,stroke:#1976d2,stroke-width:3px,color:#000 style B fill:#f3e5f5,stroke:#7b1fa2,stroke-width:3px,color:#000 style C fill:#e1f5fe,stroke:#0277bd,stroke-width:3px,color:#000 style D fill:#fff3e0,stroke:#f57c00,stroke-width:3px,color:#000 style E fill:#f3e5f5,stroke:#7b1fa2,stroke-width:3px,color:#000 style F fill:#fff3e0,stroke:#f57c00,stroke-width:3px,color:#000 style G fill:#e8f5e8,stroke:#388e3c,stroke-width:3px,color:#000

Lets check out how this was built and setup…

Read more
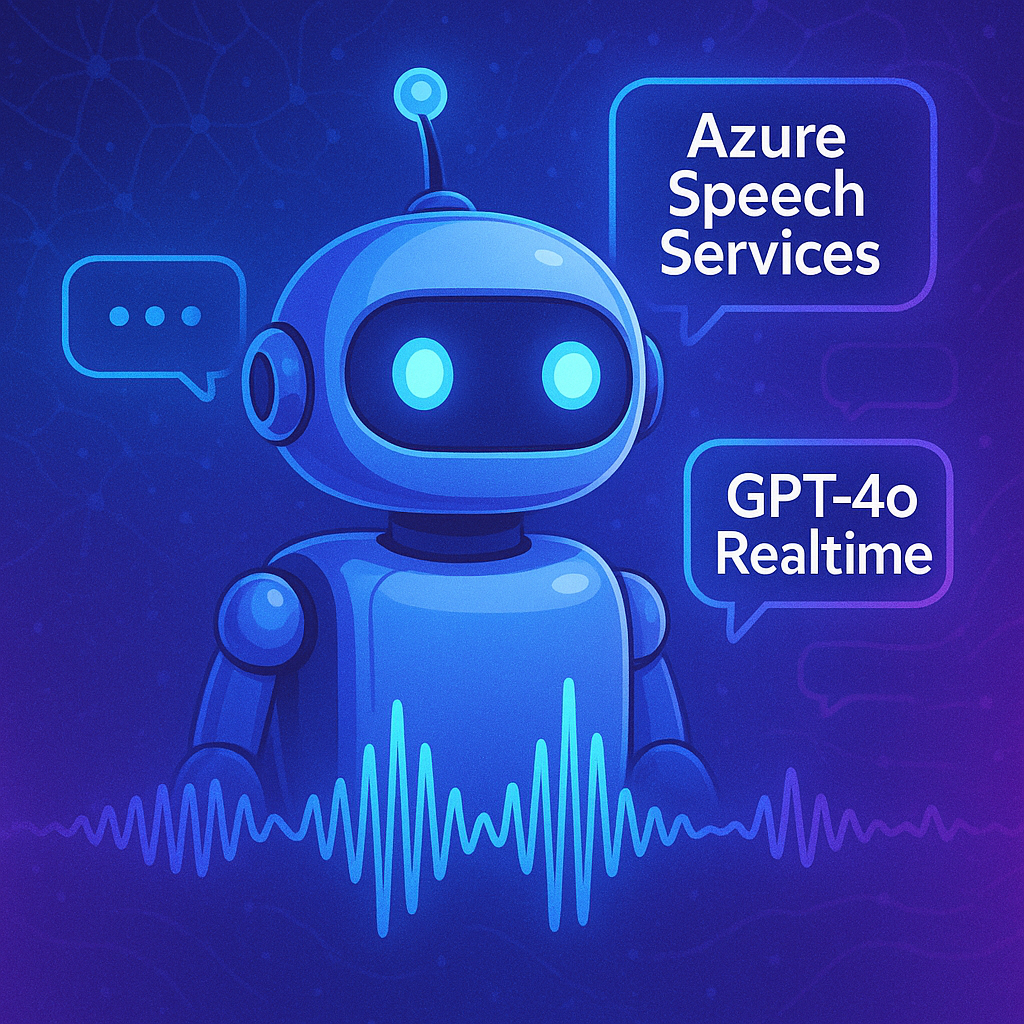
Custom Voices in Azure OpenAI Realtime with Azure Speech Services

Custom Voices in Azure OpenAI Realtime with Azure Speech Services


🎯 TL;DR: Hybrid GPT-4o Realtime with Azure Speech Services Custom Voices

This post demonstrates bypassing GPT-4o Realtime’s built-in voice limitations by creating a hybrid architecture that combines GPT-4o’s conversational intelligence with Azure Speech Services’ extensive voice catalog. The solution configures GPT-4o Realtime for text-only output (ContentModalities.Text) and routes responses through Azure Speech Services, enabling access to 400+ neural voices, custom neural voices (CNV), and SSML control. The implementation includes intelligent barge-in functionality using real-time audio amplitude monitoring, allowing users to interrupt the assistant naturally mid-response.

Technical implementation: C# application using Azure.AI.OpenAI and Microsoft.CognitiveServices.Speech SDKs, NAudio for audio I/O, streaming text collection from GPT-4o responses, RMS-based speech detection with configurable thresholds, and concurrent audio management for seamless interruption handling. Complete C# source code with audio helpers available here


Building realtime voice-enabled applications with Azure OpenAI’s GPT-4o Realtime model is incredibly powerful, but there’s one significant limitation that can be a deal-breaker for many use cases: you’re stuck with OpenAI’s predefined voices like “sage”, “alloy”, “echo”, “fable”, “onyx”, and “nova”.

What if you’re building a branded customer service bot that needs to match your company’s voice identity? Or developing a therapeutic application for children with autism where the voice quality and tone are crucial for engagement? What if your users need to interrupt the assistant naturally, just like in real human conversations?

In this comprehensive guide, I’ll show you exactly how I solved these challenges by building a hybrid solution that combines the conversational intelligence of GPT-4o Realtime with the voice flexibility of Azure Speech Services. We’ll dive deep into the implementation, covering everything from the initial problem to the complete working solution.

flowchart TD
    A[👤 User speaks] --> B[🎤 Microphone Input]
    B --> C{Barge-in Detection
Audio Level > Threshold?} C -->|Yes| D[🛑 Stop Azure Speech] C -->|No| E[📡 Stream to GPT-4o Realtime] E --> F[🧠 GPT-4o Processing] F --> G[📝 Text Response
ContentModalities.Text] G --> H[🗣️ Azure Speech Services
Custom/Neural Voice] H --> I[🔊 Audio Output] D --> E I --> J[👂 User hears response] J --> A style A fill:#e1f5fe style D fill:#ffebee style G fill:#f3e5f5 style H fill:#e8f5e8 style I fill:#fff3e0
Read more
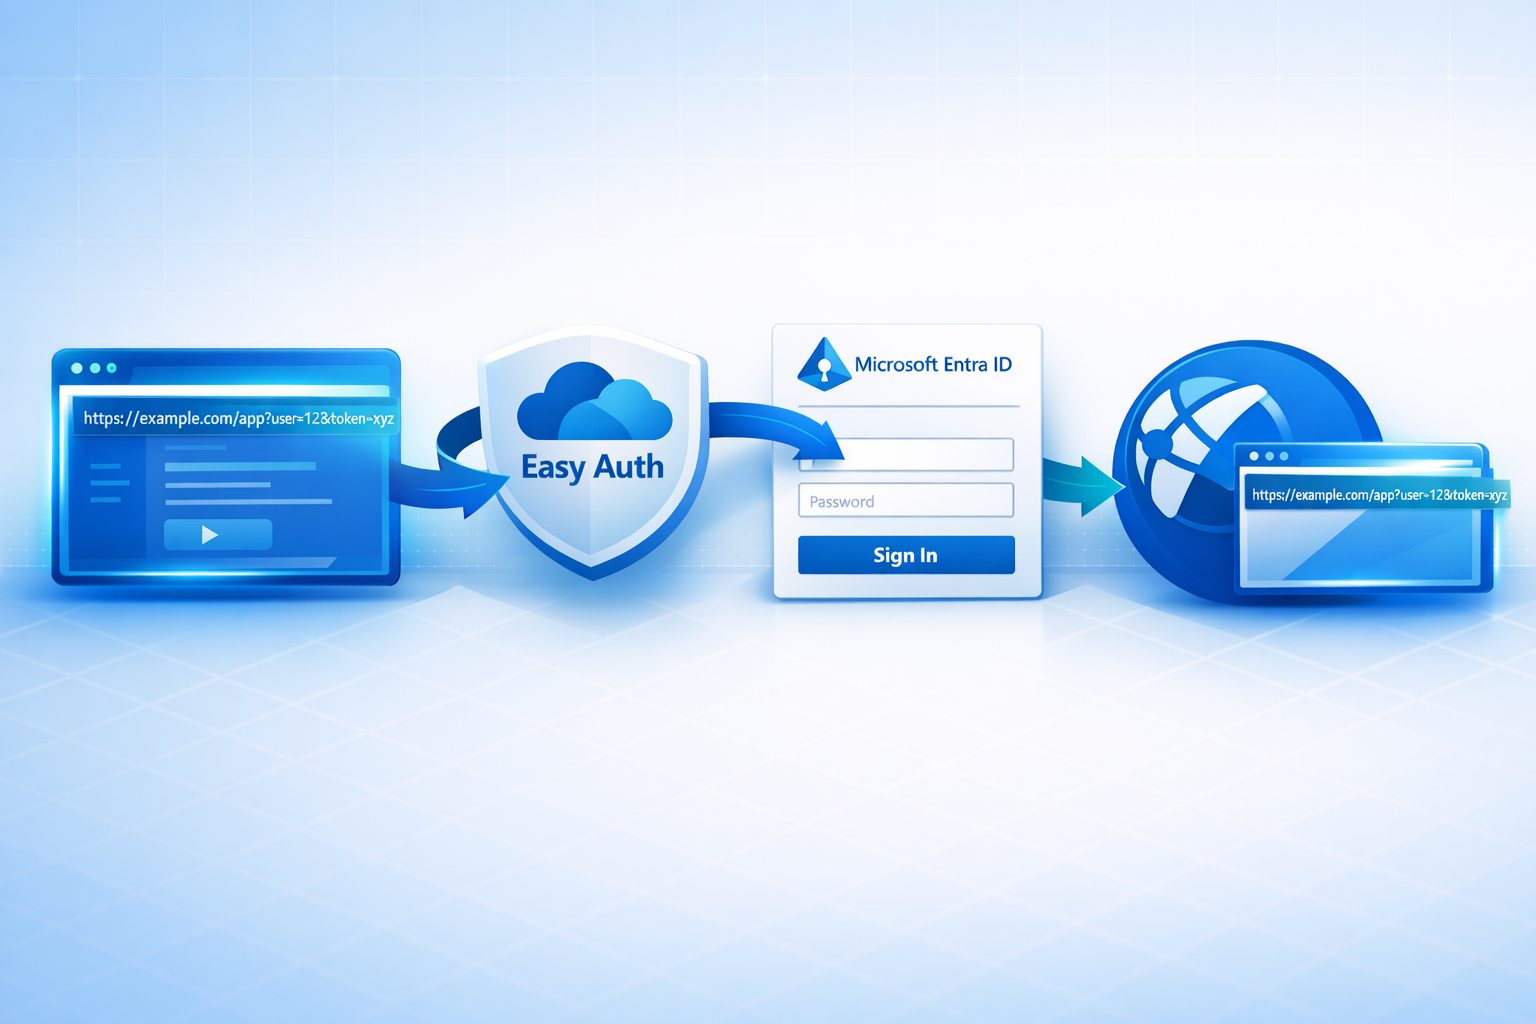
Preserving Custom Query String Parameters Through Azure App Service Easy Auth

Preserving Custom Query String Parameters Through Azure App Service Easy Auth


🎯 TL;DR

Azure App Service’s built-in authentication (“Easy Auth”) preserves the original path and query string, every custom parameter included, across the Microsoft Entra ID OAuth round trip. Your app gets the request back with the query string fully intact and zero authentication code. (URL fragments need a separate opt-in, see Gotchas.)

The mechanism is the standard OAuth 2.0 state parameter: Easy Auth encodes the original path + query into state, Entra echoes it back, Easy Auth 302s the browser to the original URL after sign-in.

Bonus finding from the captured traces: an inbound login_hint on the request is forwarded to Entra so the sign-in page is pre-populated, no loginParameters configuration needed.

Full reproducible scenario (Bicep + sample app + deploy scripts) in the Azure Scenario Hub: src/app-service-easy-auth. Clone, ./deploy-infra.ps1, watch the round-trip in your own browser in ~3 minutes.

A question I ran into recently:

If we put a login_hint, a recordId, and a bunch of other custom things in the query string, and let Easy Auth redirect to Entra for sign-in, will those query string parameters come back to us after authentication? Or do we have to write code to stash them somewhere first?

The answer is yes, they come back, and no, you don’t have to write any code. Easy Auth handles it natively. This post walks through how, with HTTP traces captured byte-for-byte from a live deployment, all reproducible from the Azure Scenario Hub.

Read more
Ignoring Azurite Files

Ignoring Azurite Files


🎯 TL;DR: Managing Azurite Storage Emulation Files in VS Code

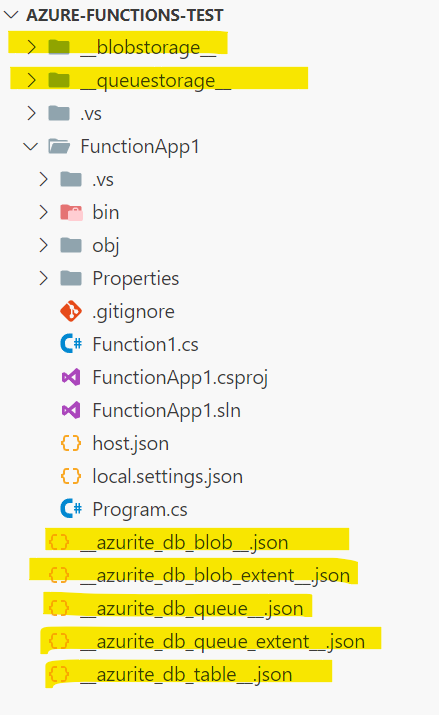
Local development with Azure Functions often requires Azurite (Azure Storage Emulator replacement) which generates storage files that clutter VS Code workspace. Problem: __azurite__, __blobstorage__, and __queuestorage__ directories appear in project explorer making navigation difficult. Solution: Configure VS Code files.exclude settings to hide these emulation artifacts while preserving their functionality for local development and testing.


In the old days, developers relied on the Azure Storage Emulator to emulate Azure Storage services locally. However, Azure Storage Emulator has been deprecated and replaced with Azurite, which is now the recommended way to emulate Azure Blob, Queue, and Table storage locally. In this post, let’s see how to set up exclusions in Visual Studio Code to prevent unwanted Azurite files from cluttering your workspace while working with Function Apps.

Azurite files

Read more
Extracting GZip & Tar Files Natively in .NET Without External Libraries

Extracting GZip & Tar Files Natively in .NET Without External Libraries


🎯 TL;DR: Native .tar.gz Extraction in .NET 7 Without External Dependencies

Processing compressed .tar.gz files in Azure Functions traditionally required external libraries like SharpZipLib. Problem: External dependencies increase complexity and security surface area. Solution: .NET 7 introduces native System.Formats.Tar namespace alongside existing System.IO.Compression for GZip, enabling complete .tar.gz extraction without external dependencies. Implementation uses GZipStream for decompression and TarReader for archive extraction with proper entry type filtering and async operations.


Introduction

Imagine being in a scenario where a file of type .tar.gz lands in your Azure Blob Storage container. This file, when uncompressed, yields a collection of individual files. The trigger event for the arrival of this file is an Azure function, which springs into action, decompressing the contents and transferring them into a different container.

In this context, a team may instinctively reach out for a robust library like SharpZipLib. However, what if there is a mandate to accomplish this without external dependencies? This becomes a reality with .NET 7.

In .NET 7, native support for Tar files has been introduced, and GZip is catered to via System.IO.Compression. This means we can decompress a .tar.gz file natively in .NET 7, bypassing any need for external libraries.

This post will walk you through this process, providing a practical example using .NET 7 to show how this can be achieved.

.NET 7: Native TAR Support

As of .NET 7, the System.Formats.Tar namespace was introduced to deal with TAR files, adding to the toolkit of .NET developers:

  • System.Formats.Tar.TarFile to pack a directory into a TAR file or extract a TAR file to a directory
  • System.Formats.Tar.TarReader to read a TAR file
  • System.Formats.Tar.TarWriter to write a TAR file

These new capabilities significantly simplify the process of working with TAR files in .NET. Lets dive in an have a look at a code sample that demonstrates how to extract a .tar.gz file natively in .NET 7.

Read more
Unzipping and Shuffling GBs of Data Using Azure Functions

Unzipping and Shuffling GBs of Data Using Azure Functions


🎯 TL;DR: Stream-Based Large File Processing in Azure Functions

Processing multi-gigabyte zip files in Azure Functions requires streaming approach due to 1.5GB memory limit on Consumption plan. Problem: Large compressed files cannot be loaded entirely into memory for extraction. Solution: Stream-based unzipping using blob triggers with two implementation options: native .NET ZipArchive (slower but dependency-free) vs SharpZipLib (faster with custom buffer sizes). Architecture includes separate blob containers for zipped/unzipped files with Function App triggered by blob storage events for scalable data processing.


Consider this situation: you have a zip file stored in an Azure Blob Storage container (or any other location for that matter). This isn’t just any zip file; it’s large, containing gigabytes of data. It could be big data sets for your machine learning projects, log files, media files, or backups. The specific content isn’t the focus - the size is.

The task? We need to unzip this massive file(s) and relocate its contents to a different Azure Blob storage container. This task might seem daunting, especially considering the size of the file and the potential number of files that might be housed within it.

Why do we need to do this? The use cases are numerous. Handling large data sets, moving data for analysis, making backups more accessible - these are just a few examples. The key here is that we’re looking for a scalable and reliable solution to handle this task efficiently.

Azure Data Factory is arguably a better fit for this sort of task, but In this blog post, we will specifically demonstrate how to establish this process using Azure Functions. Specifically we will try to achieve this within the constraints of the Consumption plan tier, where the maximum memory is capped at 1.5GB, with the supporting roles of Azure CLI and PowerShell in our setup.

Setting Up Our Azure Environment

Before we dive into scripting and code, we need to set the stage - that means setting up our Azure environment. We’re going to create a storage account with two containers, one for our Zipped files and the other for Unzipped files.

To create this setup, we’ll be using the Azure CLI. Why? Because it’s efficient and lets us script out the whole process if we need to do it again in the future.

  1. Install Azure CLI: If you haven’t already installed Azure CLI on your local machine, you can get it from here.

  2. Login to Azure: Open your terminal and type the following command to login to your Azure account. You’ll be prompted to enter your credentials.

    1
    az login    
  3. Create a Resource Group: We’ll need a Resource Group to keep our resources organized. We’ll call this rg-function-app-unzip-test and create it in the eastus location (you can ofcourse choose which ever region you like).

    1
    az group create --name rg-function-app-unzip-test --location eastus    
Read more