Automating Searchable Branch Configuration in Azure DevOps Repos via REST API

Automating Searchable Branch Configuration in Azure DevOps Repos via REST API


🎯 TL;DR: Bulk Configure Searchable Branches in Azure DevOps via Hidden Policy API

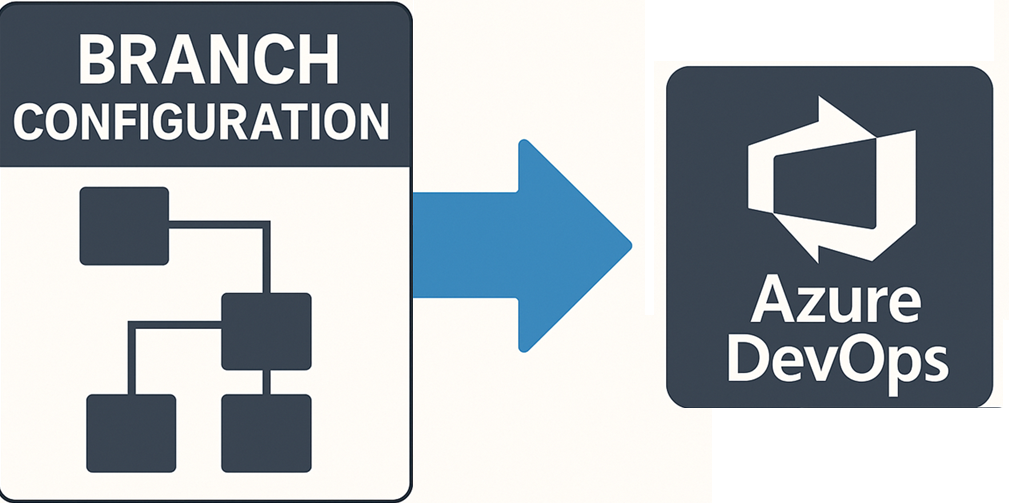
Azure DevOps code search only indexes the default branch (master/main) by default, causing issues when teams use develop branches for JFrog Artifactory detection scripts. Problem: No documented API exists for bulk updating searchable branches across thousands of repositories. Solution: Use the undocumented Policy Configuration API with policy type 0517f88d-4ec5-4343-9d26-9930ebd53069 to programmatically add branches to the searchable list. This approach leverages the same API calls the Azure DevOps UI uses internally, enabling automation of what would otherwise require manual configuration across massive repository collections.


Recently, I encountered an interesting challenge while working on a JFrog Artifactory adoption tracking project across a large Azure DevOps organization. The requirement was to scan repositories for JFrog URL references to determine which teams had successfully onboarded to their new artifact management system. The problem? Some development teams exclusively work in develop branches instead of master or main, and Azure DevOps code search only indexes the default branch by default.

This seemingly simple requirement - adding develop to the searchable branches for thousands of repositories - turned into a fascinating exploration of Azure DevOps’ undocumented APIs. While there’s no official documentation for bulk updating searchable branches, I discovered that the Azure DevOps UI uses a specific Policy Configuration API under the hood that we can leverage for automation.

This blog post shares a practical approach to programmatically configure searchable branches across large Azure DevOps organizations using REST APIs that Microsoft doesn’t officially document but absolutely supports.

The Challenge: Azure DevOps Code Search Limitations

Azure DevOps code search is a powerful feature, but it comes with a significant limitation that affects many organizations: by default, only the repository’s default branch (typically master or main) is indexed for search operations.

This creates problems in several scenarios:

JFrog Adoption Tracking: Organizations implementing JFrog Artifactory need to scan all repositories for configuration files and dependency references, but teams using feature branches or develop as their primary branch won’t be detected.

Multi-Branch Development: Teams practicing GitFlow or similar branching strategies may have critical code in develop, release/*, or feature branches that needs to be searchable.

Compliance and Security Scanning: Security tools and compliance scripts that rely on code search may miss important files if they’re not in the default branch.

Read more
Getting TFVC Repository Structure via Azure DevOps Server API

Getting TFVC Repository Structure via Azure DevOps Server API


🎯 TL;DR: Retrieving TFVC Repository Structure via REST API

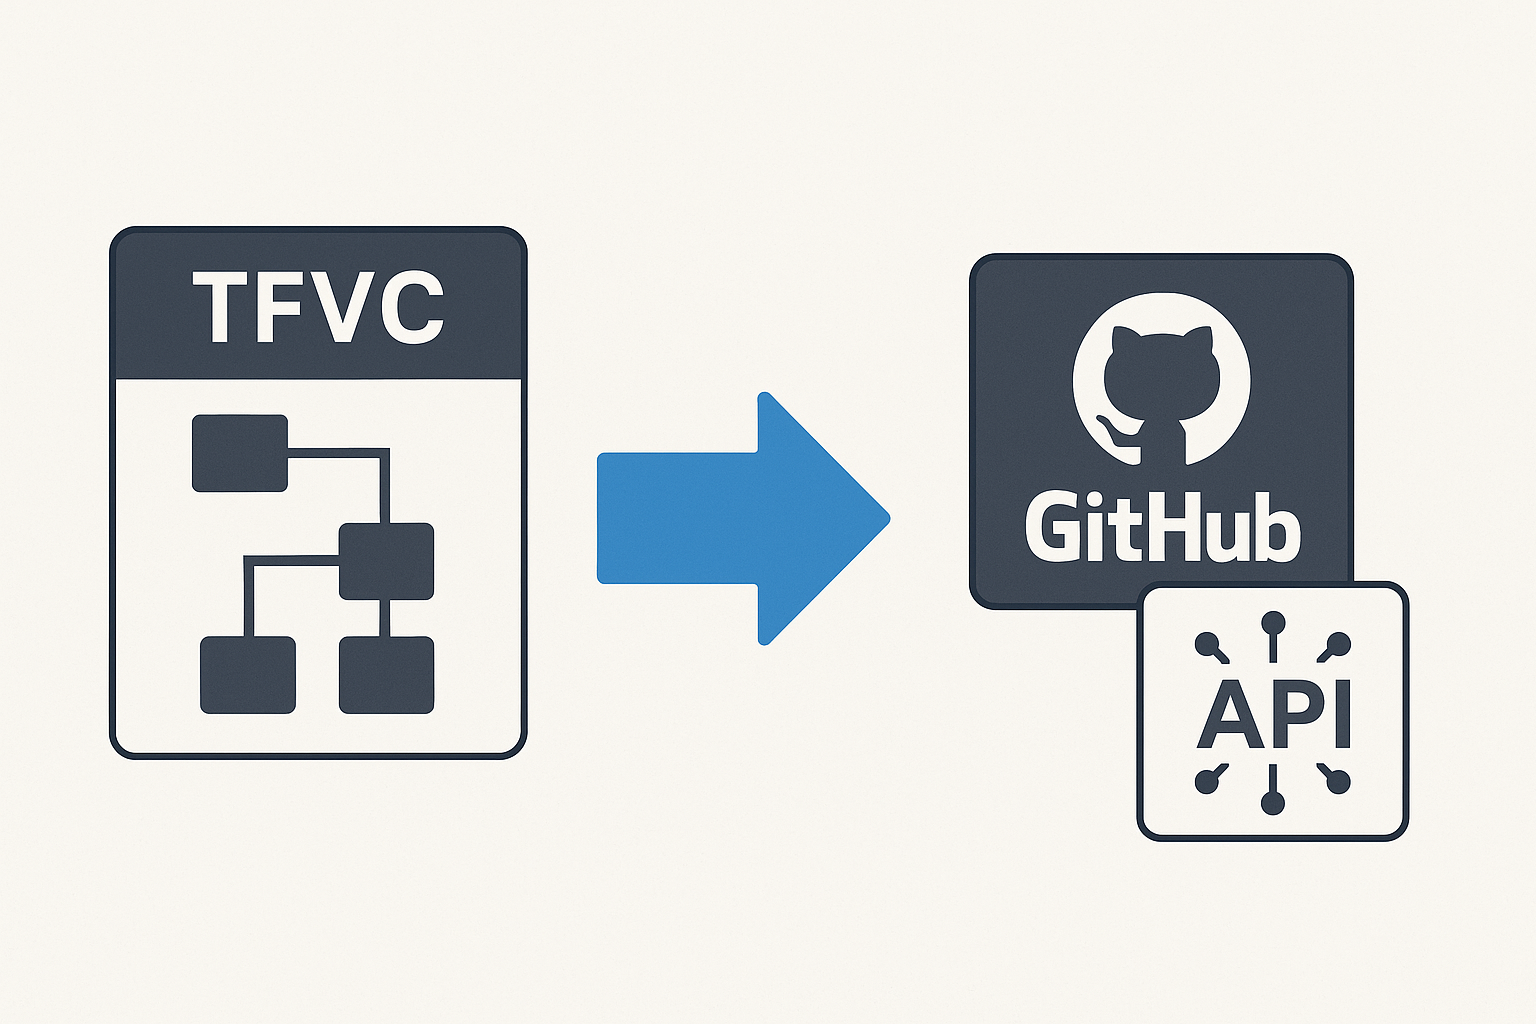
This post demonstrates how to programmatically enumerate TFVC repository folders using Azure DevOps Server REST APIs. Unlike Git repositories, TFVC follows a one-repository-per-project model with hierarchical folder structures starting at $/ProjectName. The solution uses the TFVC Items API with specific parameters: scopePath=$/ProjectName to target the project root, and recursionLevel=OneLevel to retrieve immediate children. The implementation handles authentication via Personal Access Tokens, filters results to show only folders (excluding the root), and includes error handling for projects without TFVC repositories or insufficient permissions.

Key technical details: PowerShell script implementation, proper API parameter usage, authentication setup, and handling edge cases like empty repositories and access permissions. Complete PowerShell script and utilities available here


Recently, I was asked an interesting question by a developer who was struggling with Azure DevOps Server APIs around fetching repository metadata for legacy TFVC structures as part of a GitHub migration from ADO Server. This was a nice little problem to solve because, let’s be honest, we don’t really deal with these legacy TFVC repositories much anymore. Most teams have migrated to Git, and the documentation around TFVC API interactions has become somewhat sparse over the years.

The challenge was straightforward but frustrating: they could retrieve project information just fine, but getting the actual TFVC folder structure within each project? That’s where things got tricky. After doing a bit of digging through the API documentation and testing different approaches, I’m happy to say that yes, it is absolutely possible to enumerate all TFVC repositories and their folder structures programmatically.

This blog post shares the solution I put together - a practical approach to retrieve TFVC repository structure using the Azure DevOps Server REST APIs. If you’re working with legacy TFVC repositories and need to interact with them programmatically, this one’s for you.

The Challenge: Understanding TFVC API Limitations

Unlike Git repositories where each project can contain multiple repos, TFVC follows a different model where each project contains exactly one TFVC repository. This fundamental difference affects how you interact with the API and retrieve repository information.

The main challenge developers face is distinguishing between project metadata and actual TFVC repository structure. When calling the standard Projects API, you receive project information but not the folder structure within the TFVC repository itself.

Read more
Unzipping and Shuffling GBs of Data Using Azure Functions

Unzipping and Shuffling GBs of Data Using Azure Functions


🎯 TL;DR: Stream-Based Large File Processing in Azure Functions

Processing multi-gigabyte zip files in Azure Functions requires streaming approach due to 1.5GB memory limit on Consumption plan. Problem: Large compressed files cannot be loaded entirely into memory for extraction. Solution: Stream-based unzipping using blob triggers with two implementation options: native .NET ZipArchive (slower but dependency-free) vs SharpZipLib (faster with custom buffer sizes). Architecture includes separate blob containers for zipped/unzipped files with Function App triggered by blob storage events for scalable data processing.


Consider this situation: you have a zip file stored in an Azure Blob Storage container (or any other location for that matter). This isn’t just any zip file; it’s large, containing gigabytes of data. It could be big data sets for your machine learning projects, log files, media files, or backups. The specific content isn’t the focus - the size is.

The task? We need to unzip this massive file(s) and relocate its contents to a different Azure Blob storage container. This task might seem daunting, especially considering the size of the file and the potential number of files that might be housed within it.

Why do we need to do this? The use cases are numerous. Handling large data sets, moving data for analysis, making backups more accessible - these are just a few examples. The key here is that we’re looking for a scalable and reliable solution to handle this task efficiently.

Azure Data Factory is arguably a better fit for this sort of task, but In this blog post, we will specifically demonstrate how to establish this process using Azure Functions. Specifically we will try to achieve this within the constraints of the Consumption plan tier, where the maximum memory is capped at 1.5GB, with the supporting roles of Azure CLI and PowerShell in our setup.

Setting Up Our Azure Environment

Before we dive into scripting and code, we need to set the stage - that means setting up our Azure environment. We’re going to create a storage account with two containers, one for our Zipped files and the other for Unzipped files.

To create this setup, we’ll be using the Azure CLI. Why? Because it’s efficient and lets us script out the whole process if we need to do it again in the future.

  1. Install Azure CLI: If you haven’t already installed Azure CLI on your local machine, you can get it from here.

  2. Login to Azure: Open your terminal and type the following command to login to your Azure account. You’ll be prompted to enter your credentials.

    1
    az login    
  3. Create a Resource Group: We’ll need a Resource Group to keep our resources organized. We’ll call this rg-function-app-unzip-test and create it in the eastus location (you can ofcourse choose which ever region you like).

    1
    az group create --name rg-function-app-unzip-test --location eastus    
Read more